This time on TTIL I wanted to show off some of my favorite things I’ve made for my dollhouse project, which has been going on for nearly a year now. I thought I’d show you some of my favorite individual tiny things, most of which I made myself.
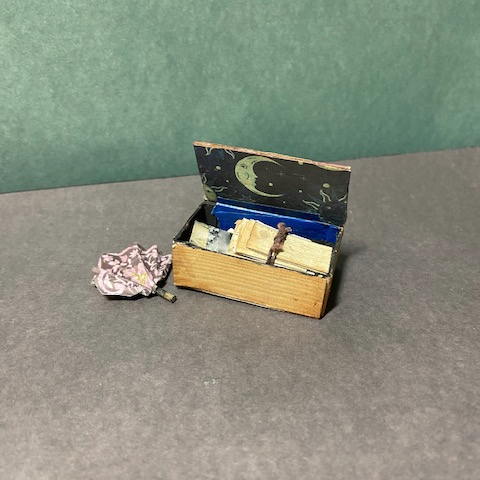
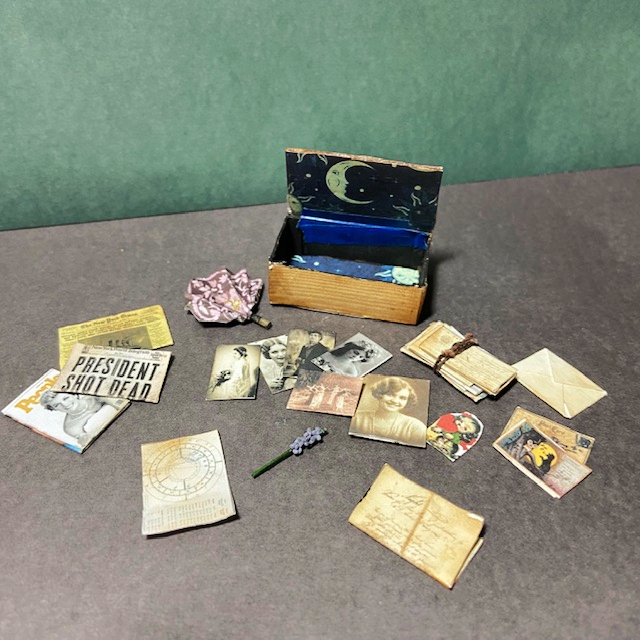
1 – The Memory Box
The house belongs to a character named Willow, a Witch who inherited the tiny little place from her now-deceased grandmother (also a Witch). It’s a mix of new things Willow brought and the somewhat weathered stuff her grandma left behind. This particular box will be either under the bed or in the clothes armoire; it’s a collection of pictures, articles, and other things the grandmother was saving, a box of memories. I had a BLAST making this – finding pictures and newspaper pages to shrink, making the box itself. I’m so happy with how it turned out.
2 – The Wind Chime
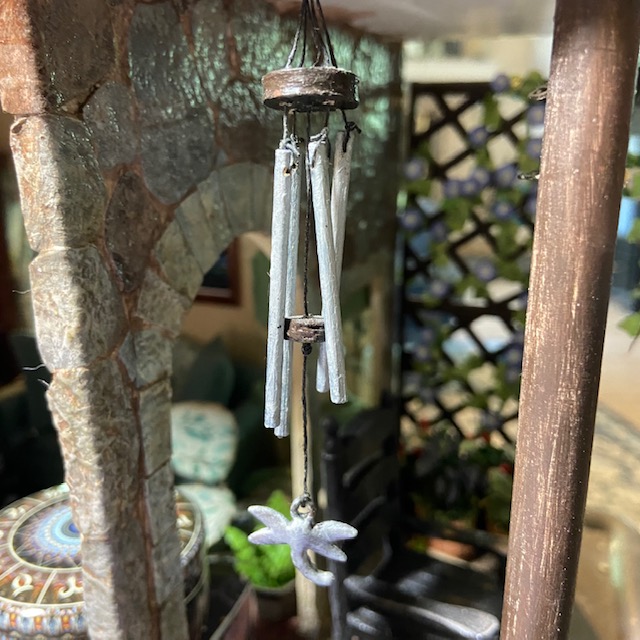
There are a lot of cool things on the patio, but probably my favorite is the wind chime I built out of toothpicks, string, and wood. The dragonfly image (a charm) repeats throughout the house. The chime even makes a tiny little tinkling noise when you disturb it (granted so do I if you scare me badly enough).
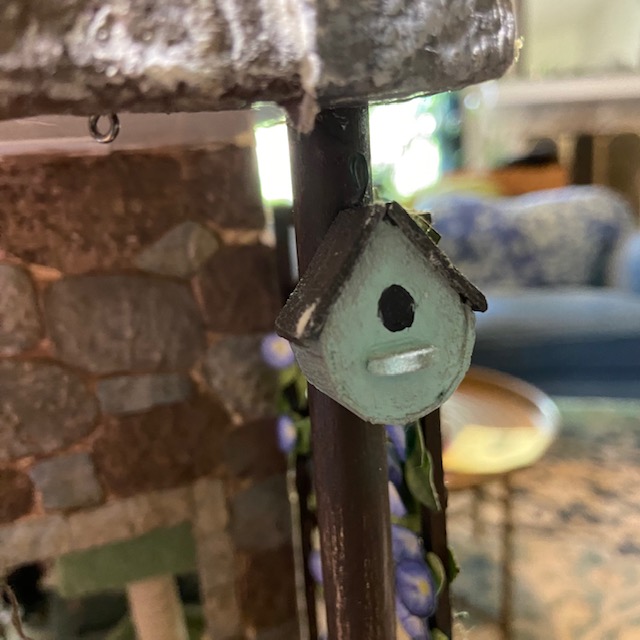
3 – The Bird Feeder & Birdhouse
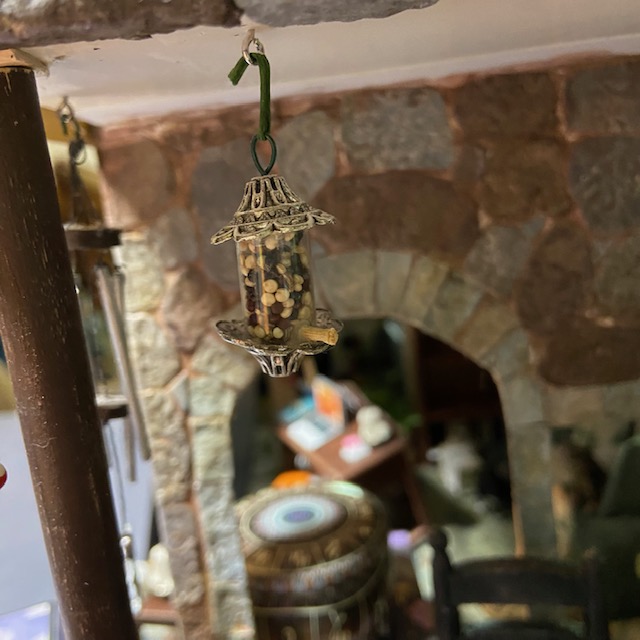
I ordered the hummingbird feeder from one of the many mini shops I love on Etsy but then I thought hey, I could absolutely make one of these for other birds. The feeder is a clear tube glued into bead caps, filled with a variety of spices and such that looked like bird food. The birdhouse I built out of popsicle sticks and wood coffee stirrers.
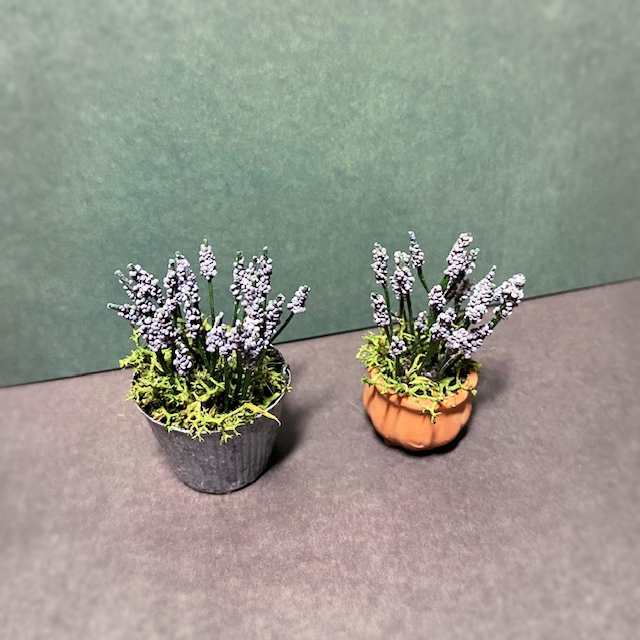
4 – The Lavender Plants
This was so fun. I found a video tutorial on making miniature lavender and decided to give it a go – I love the result! You shake up poppy seeds in ground up chalk pastel, then dip a floral wire in glue, stick it in the seeds, and swirl it around.
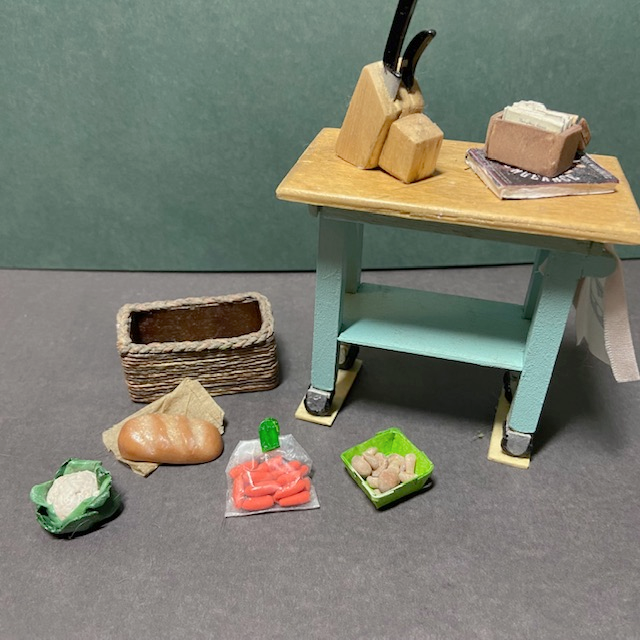
5 – Tiny Vegetables
I made a LOT of food for the kitchen, which I’ll show later, but I think the veggies came out best, as well as the bread. All were made with Super Sculpey. I especially love those tiny baby carrots. I’m amazed at how perfectly the color came out! There’s also the basket that goes on the cart’s shelf; I made that too out of hemp cord wrapped around a wood base, another thing I learned from a video (from one of my favorite YouTube miniaturists by the way). There are several of those baskets in the kitchen. I should make some more, it’s really fun.
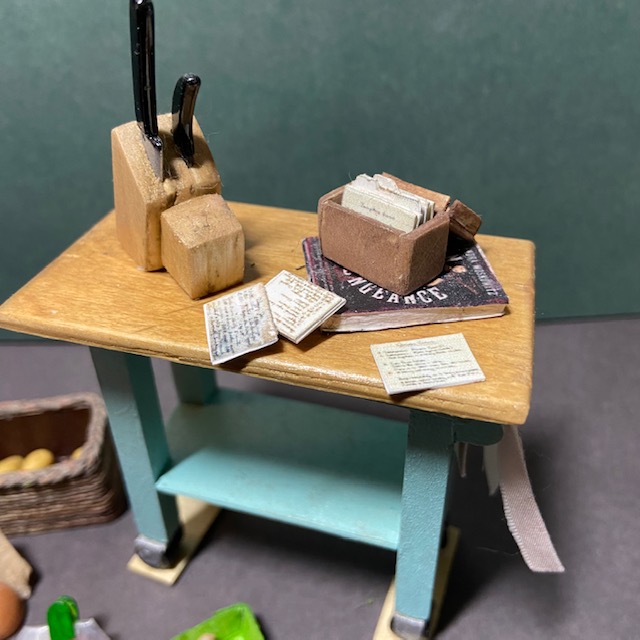
6 – The Kitchen Island
This was one of the earliest pieces in the project after some other kitchen furnishings. The rooms I made ended up way smaller than I thought they’d be, so there was a lack of counter space in the kitchen. To combat that I made this little cart with a butcher-block-esque top. I carved the knife block by hand, and made the box of recipe cards out of some basswood (I think? Either that or balsa, I can’t remember which I had at the time). The cards were a printable and they all come out of the box. I had to mount the cart on some flat boards stained to match the kitchen floor because the whole thing kept tumping over forwards. It blends in well enough with the floor.
7 – The Journal and Other Desk Things
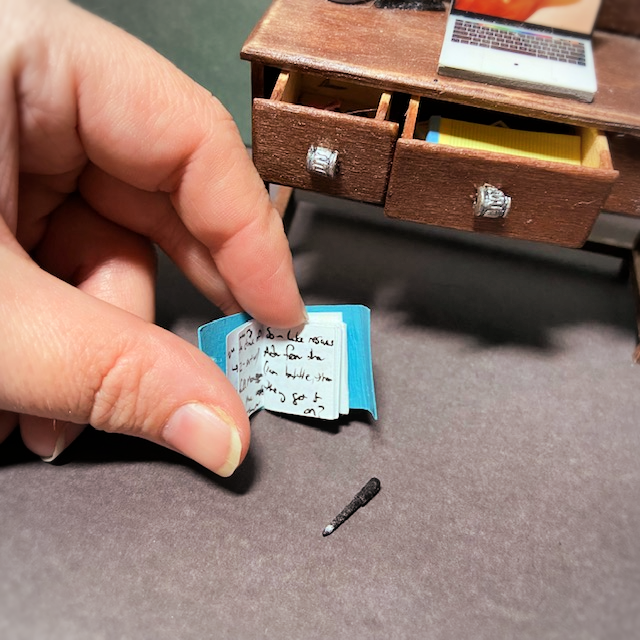
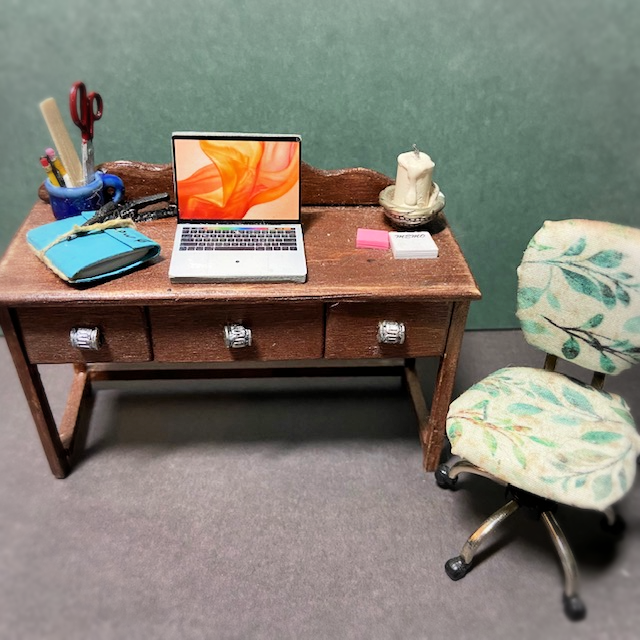
I made the desk of course (so far there’s only I think two pieces of furniture I didn’t build myself) but a lot of the accessories I ordered, like the TINY POST IT NOTES OMG and the Macbook. But I did make the journal and the pen with it; it’s supposed to be Willow’s notes (she’s a writer too, so she can live out in the woods in this cottage and still earn a living).
8 – The Coffee Table Tableau
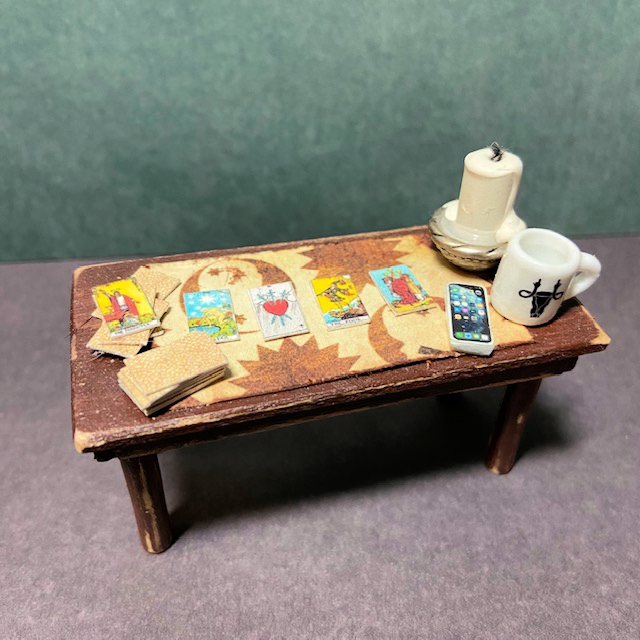
I thought the coffee table should look like it was in the middle of some kind of activity and a Tarot reading would be cool. The candle is a white crayon, believe it or not, in another bead cap. I bought the iPhone and the awesome little mug (it’s a uterus flipping you off). I also built the table itself.
9 – The Cat Tree (and cats!)
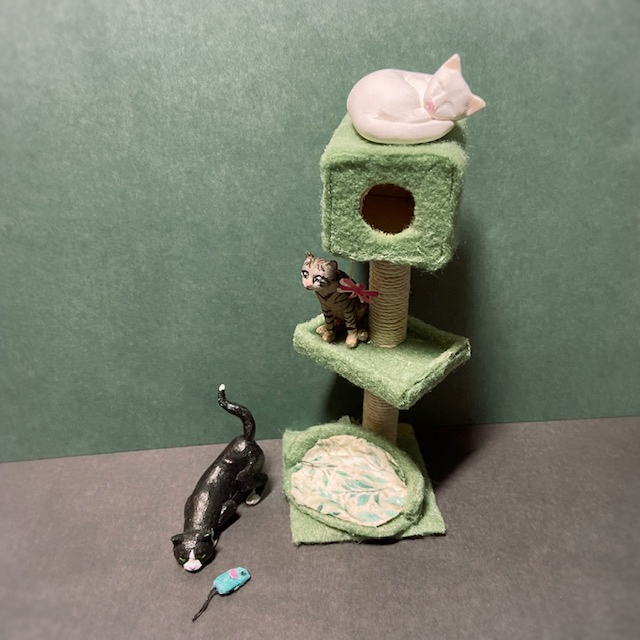
Willow has three cats – I actually haven’t named them yet, but two were painted to look like real cats I’ve known. The tuxie boy is in honor of my beloved Owen who is no longer with me, but the awkwardly-striped kitty is meant to look something like the Honorable Fitzwilliam Q. Darcy III, the youngest member of the feline horde here at Scorpio Manor. The tree took a couple of tries but I love how it turned out. Note the tiny little catnip mouse – I made that too. It required tweezers. The two painted cats themselves are 3D printed, ordered from another Etsy shop, and the white sleeping cat is ceramic and came from, you guessed it, Etsy.
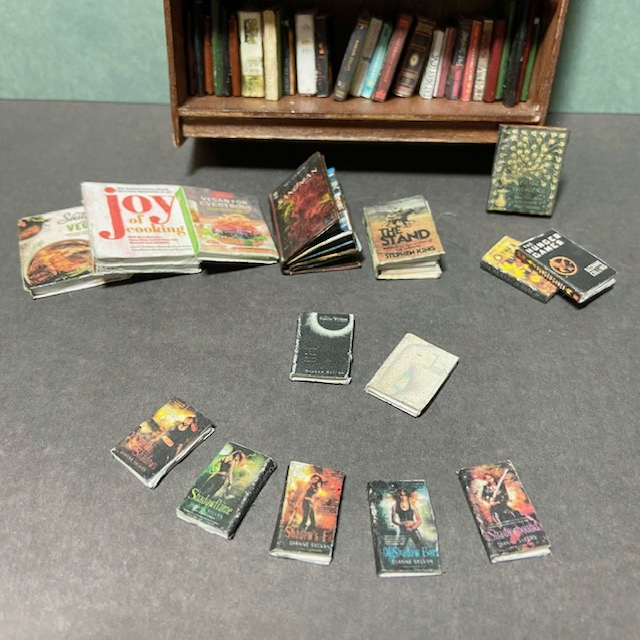
10 – My Own Books
I could keep going – this whole project has been so fun and I’ve learned so many new skills and tools – but the final tour will likely be several posts with lots of detail, so, I stopped at ten today.
When you make all the books for a 1:12 scale shelf you can make them whatever you want. I decided to include my own! I printed the covers super tiny and glued them around bits of either wood or paper. The paperbacks in front are about 5/8″ tall. They didn’t turn out as nicely as I wanted them too but they’re still pretty nifty, I say.
Oh, and I should say the runner up is the Hitachi Magic Wand, but I already posted a pic of it in my March Update post. Even a 1:12 scale gal has needs.
